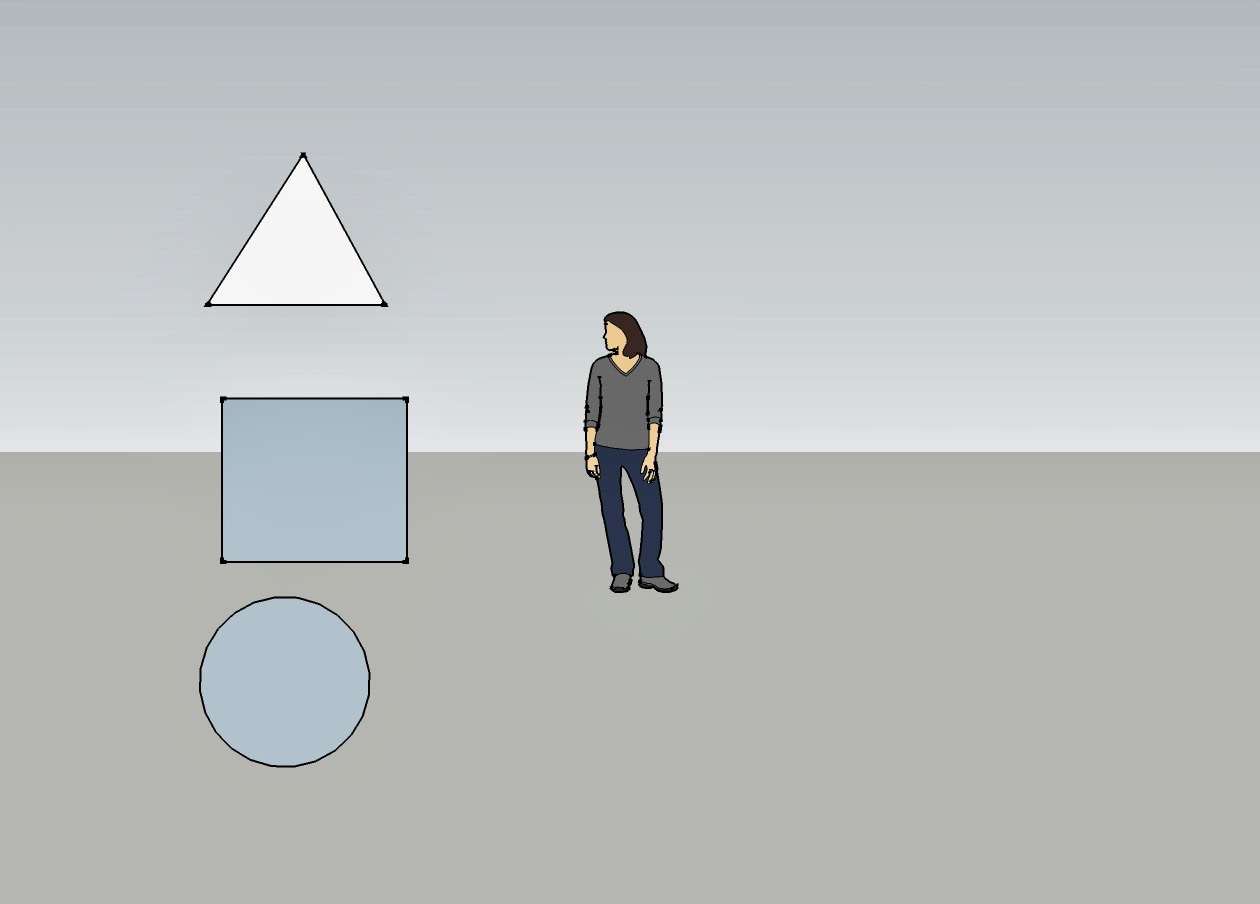


Assignments#21a,b&c: In this assignment we learned how to use sketch up to create 3D shapes and write our name.

22-1: 8'x5'x5'

22-2: 8'x5'x5'
22-3: 9'x4'x6'

22-4: 7'x6'x4'

22-5: 8'x5'x5'

22-6: 8'x5'x6'
22-7: 8'x5'x6'

22-8: 9'x5'x6'

22-9: 9'x4'x6'

22-10: 11'x3'x6'

22-11: 8'x5'x6'

22-12: 9'x4'x6'
Assignment#22: (1-12) In this assignment we used sketch up to create 3d blocks. We used the rectangle, circle, line, tape measure and push and pull tools to create these figures.
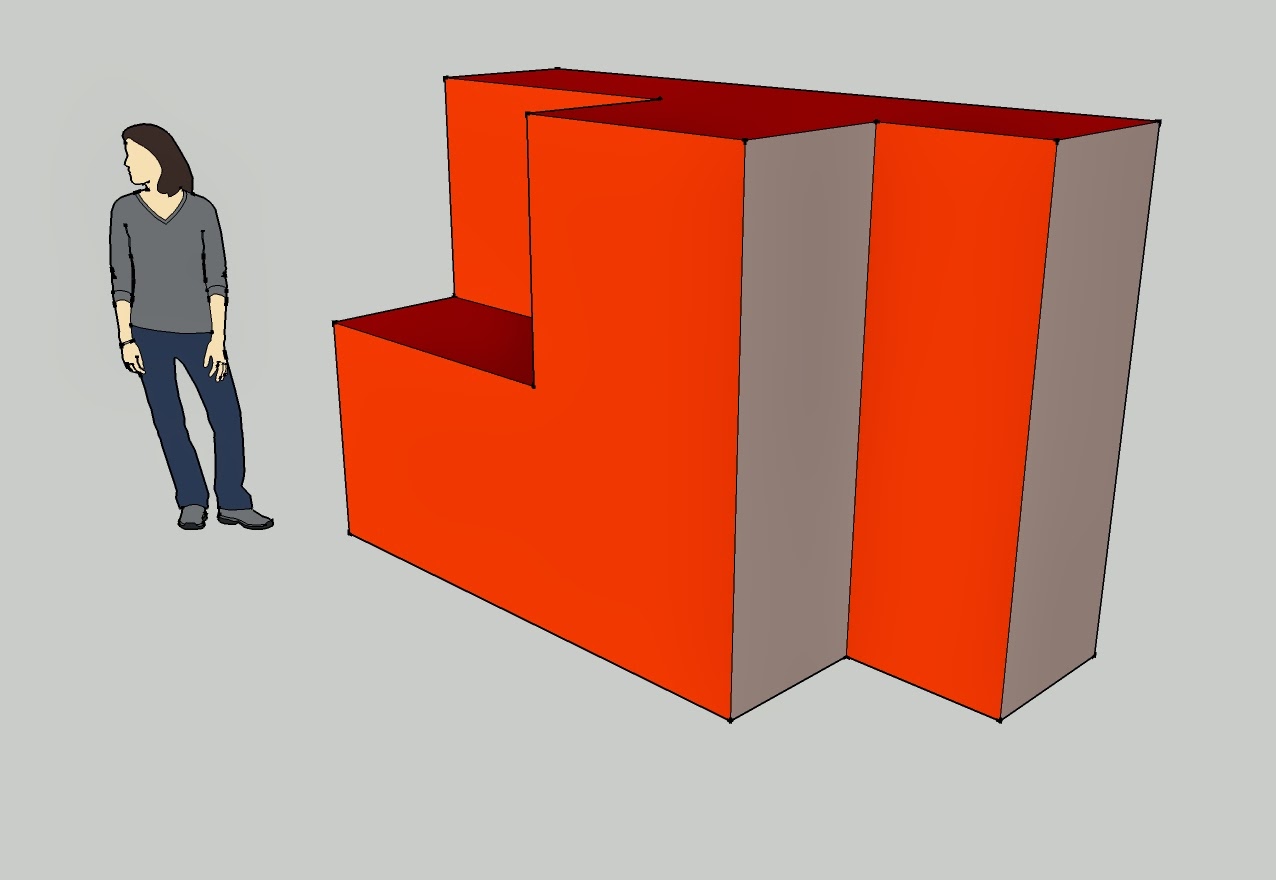
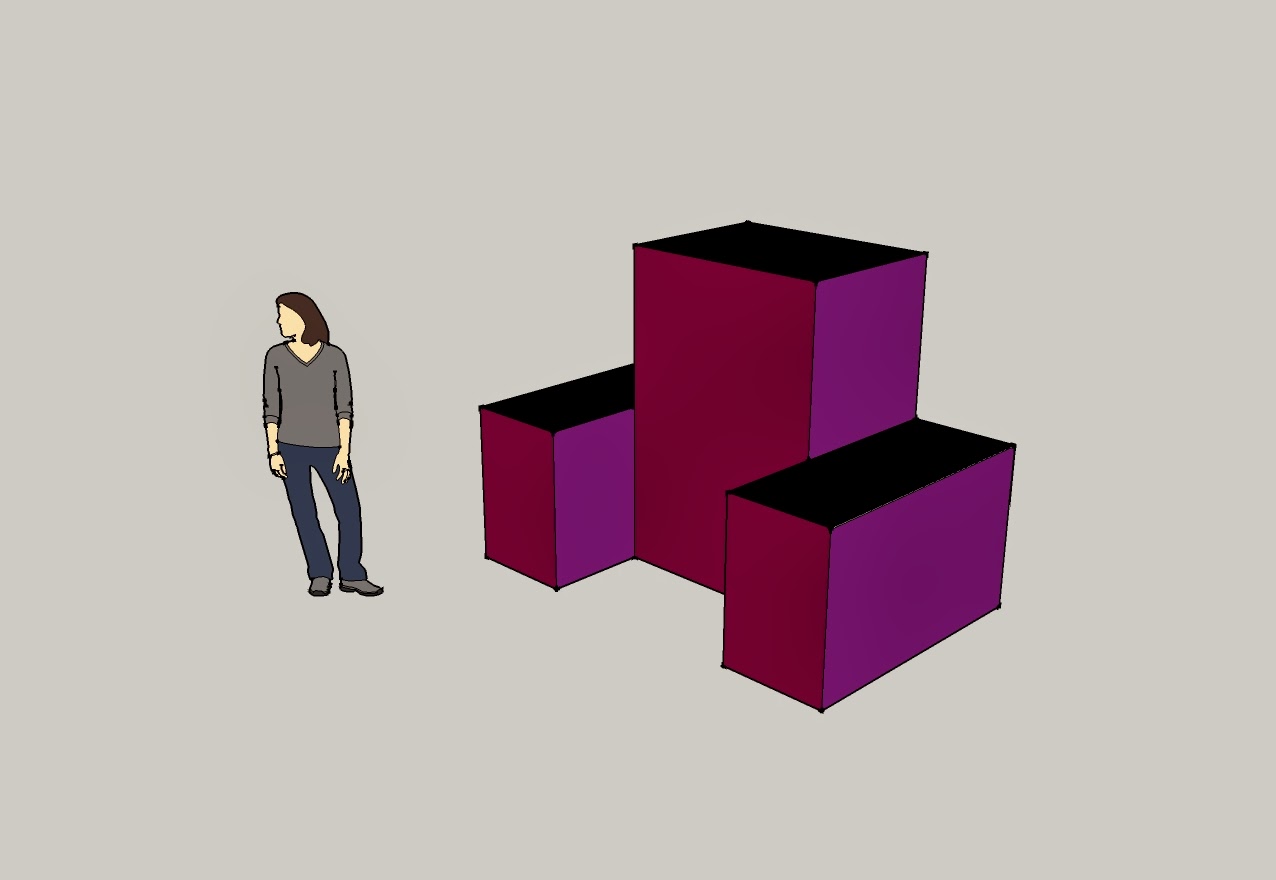
Quiz block:

(Original)

(Back view)

(Front view)
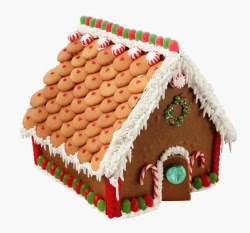
Assingment#23: In this assignment we used the skills we learned in assignments 21 and 22 to create a model of a Gingerbread house. Using the original as a model I created my version in Google SketchUp. I used the previously learned functions such as rectangle, circle, push and pull, scale and move tools. I used the import from warehouse option to get models of gumdrops and candy canes and the wreath. I used freehand to draw the snow on the ledge and filled with appropriate colors where necessary.

Assignment#24: In this assignment I used my Gingerbread House from Assignment#23 and opened it in photoshop picked the background of my choice and by separating the RGB channels I converted my gingerbread house to 3D.

Assignment#25: In this assignment I used photoshop to create a GIF image of a flowing power button. GIF stands for Graphics Interchange Format - Picture format. GIF miles can usually be opened with the image viewing software included with your operating system or within a browser as part of a web page. GIF miles can display up to 256 colors, support transparent backgrounds, and may also be animated. In this case I created a power button which is animated. GIF Animations are created by a series of images slightly different from each other to show different movements. The series of images are layered one on top of the other in reverse order with the last image on top. It's like a flip book where you quickly flip through the images to see the motion. At the end the animation speed and loop is set to show the motion smoothly.

Assignment#25(Extra Credit): in this assignment I used the skills from assignment 25 to create a flowing animation with my name text.
Showcase:

For this first part of the show case I created 5 rectangular boxes and then I created the ceiling, floor and walls by using the perspective tool under transform. After i created the shapes for the rooms I applied gray gradients to achieve the final image. So I can get a 100 for the first part.

For this second part I had difficulty creating the light ray so i used the smudge tool to make the light softer and more blended and then used the polygonal lasso tool to create the top part of the ray coming out of the light then I just filled it with a linear white gradient and changed the opacity to make the final light ray then i copied the layer twice and moved it for the other two lights. Finally I added the shadow for the merchandise use the paint brush.
100+100=200


Assignment#27: For this assignment I used Microsoft Publisher. Using a template that was available to me on Publisher I inputted information about myself, my school and my daily schedule. The text also includes a brief description of all my classes. Finally, I converted the file to PDF and then to JPEG to upload to the blog.
This semester we learned how to use:
1. Adobe Photoshop
2. Adobe Illustrator
3. Google SketchUp
4. Microsoft Powerpoint
3. Microsoft Publisher
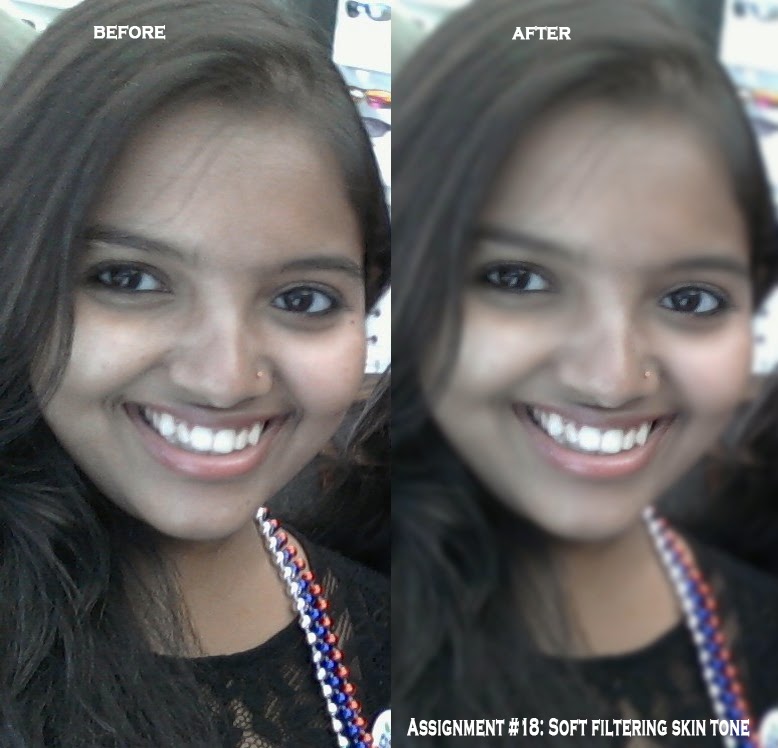
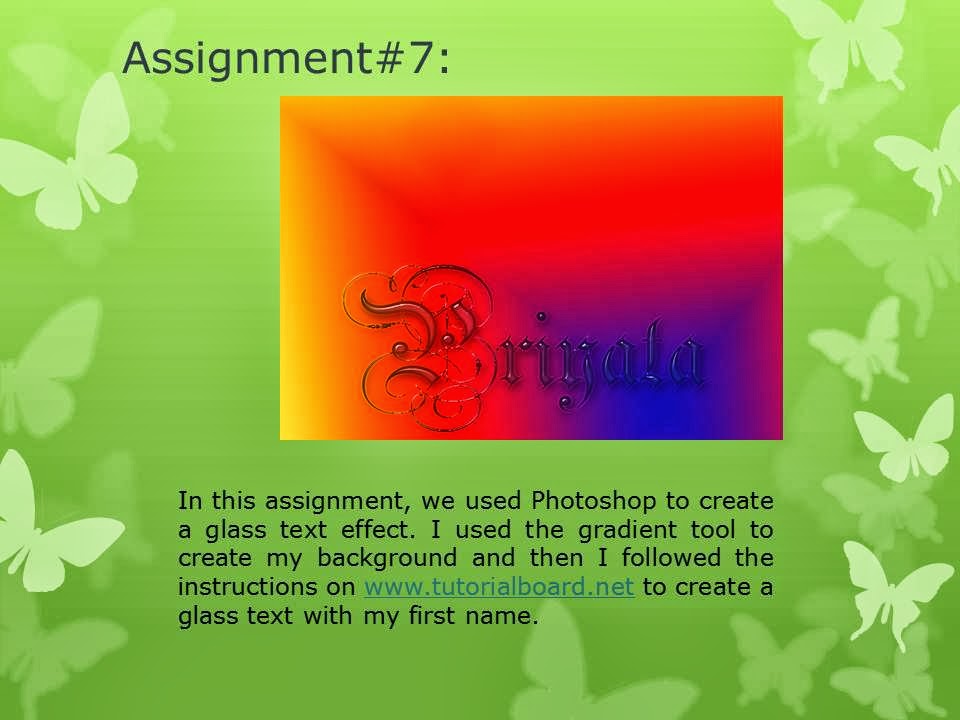
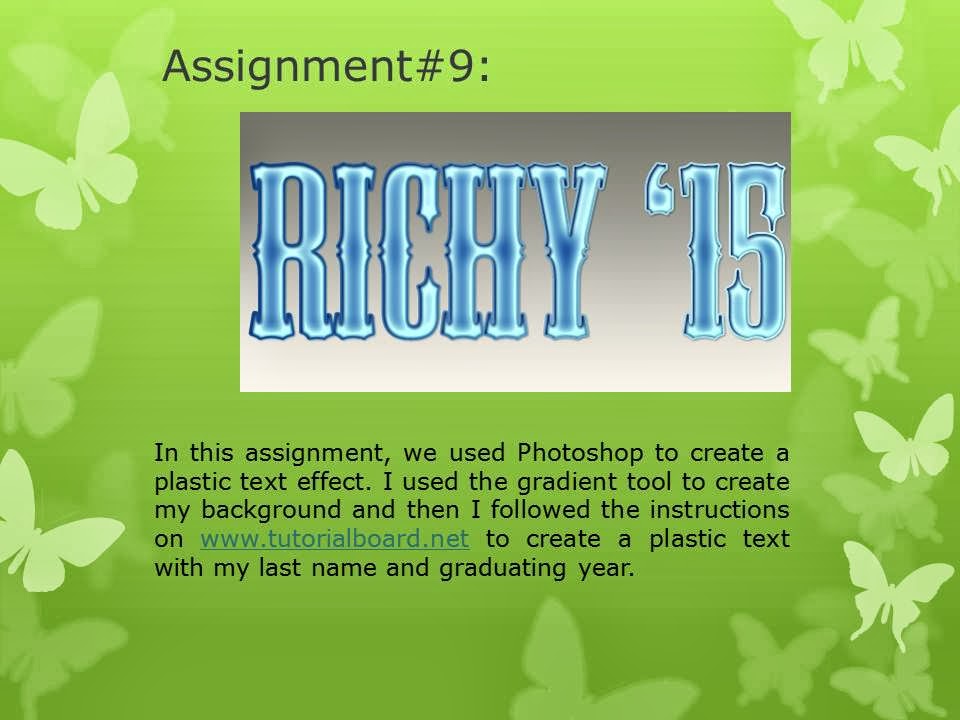
1. This semester I learned how to use Photoshop to edit and enhance images I learned how to make collages and banners and how to apply different effects to images. I learned that I can use gradients to manipulate the image in various different ways such as creating walls shadows and making objects look more realistic. I learned to make an object look like it's in motion. We created poster and jack o' lanterns. I created realistic looking flashdrive and telephone. I also learned how to make different text effects using Photoshop such as Plastic and Glass texts.
2. We used Adobe Illustrator to create the flashdrive and Telephone in Like Photoshop mode where the functions are mostly similar to Photoshop.
3. In Google SketchUp I learned how to create 3D models. I created blocks to start off and then I moved on to creating a 3D model of a Gingerbread house.
4. We used Microsoft Powerpoint for presentation purposes
5. We used Microsoft Publisher to create business cards and a flyer, we learned how to use the templates.